TL;DR:
- Preparation is key to a stress-free motorcycle rally, covering bike safety, gear, camping, and emergency supplies. Regularly perform a T-CLOCS inspection and pack lightweight, organized gear with heavy items low and centered. Building and reviewing a personalized checklist improves safety, handling, and overall enjoyability of your rally experience.
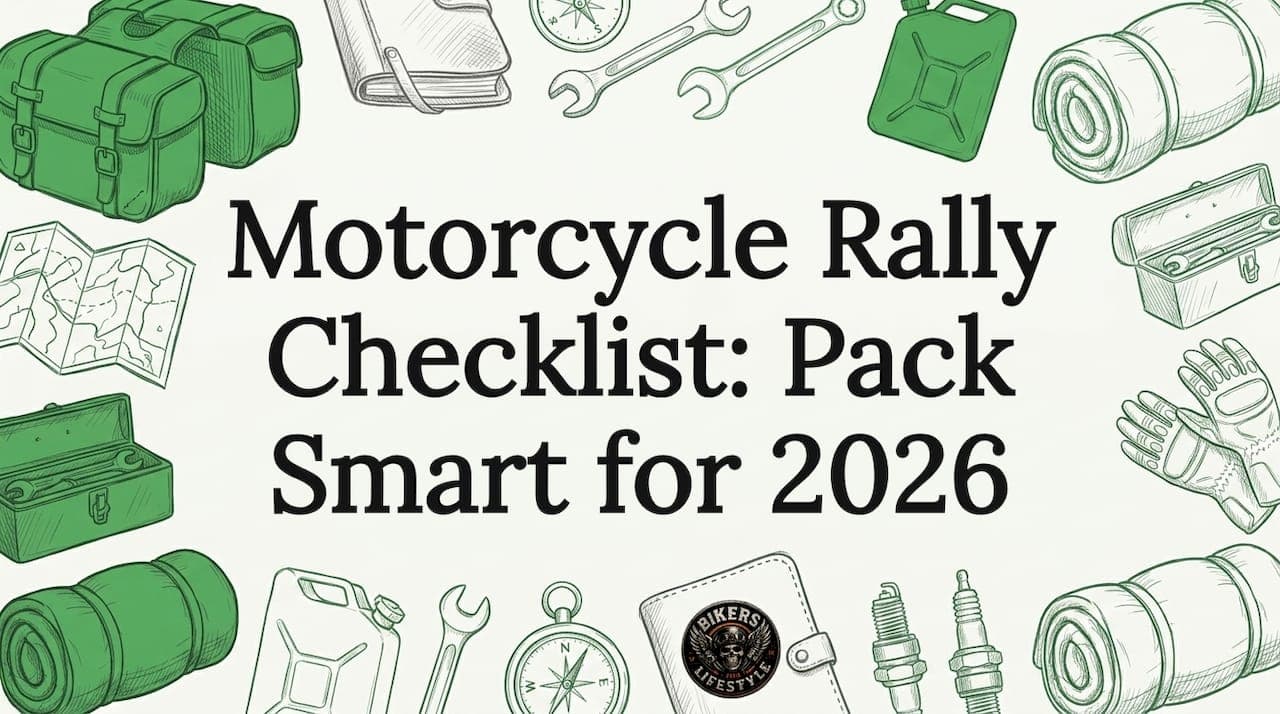
Every year, events like Sturgis and Daytona Bike Week pull in 500,000 or more riders, and the gap between riders who have a blast and riders who spend half the rally stressed usually comes down to one thing: preparation. A solid motorcycle rally checklist is not just about remembering your toothbrush. It covers your bike's mechanical safety, your riding gear, your campsite, your emergency supplies, and how you load all of it without turning your bike into a top-heavy disaster. This guide breaks every category down so you show up ready to ride, not scrambling to fix what you forgot.
Table of Contents
- Key takeaways
- 1. Your motorcycle rally checklist starts with T-CLOCS
- 2. Clothing and personal gear for rally riding
- 3. Camping and overnight gear checklist
- 4. Motorcycle roadside emergency checklist
- 5. Motorcycle event essentials you will actually use
- 6. Efficient packing and load management
- What years of rally checklists actually taught me
- Plan your next rally with Bikerslifestyle
- FAQ
Key takeaways
| Point | Details |
|---|---|
| T-CLOCS before every ride | Run the full pre-ride inspection on tires, controls, lights, fluids, chassis, and stands before leaving for the rally. |
| ATGATT is non-negotiable | Wear a helmet, jacket, gloves, and boots every time you ride, with layering for weather changes. |
| Tailor your emergency kit | Replace generic first aid supplies with trauma-specific items including a tourniquet and hemostatic gauze. |
| Pack light using the three-pile method | Sort gear into yes, maybe, and no piles to cut bulk and make daily repacking faster. |
| Weight placement changes handling | Load heavy items low and centered in your luggage to keep the bike stable at speed. |
1. Your motorcycle rally checklist starts with T-CLOCS
The T-CLOCS inspection is the industry-standard pre-ride check developed by the Motorcycle Safety Foundation. The name stands for Tires and Wheels, Controls, Lights and Electrics, Oil and Fluids, Chassis, and Stands. It takes about five to ten minutes and it has prevented more roadside disasters than any piece of gear ever will.
Here is what each step covers:
- Tires and wheels. Check tire pressure cold, look for cracks, uneven wear, or embedded debris. Spin each wheel and watch for wobble. This matters even more if your bike sat over winter, since T-CLOCS inspections can reveal dry rot and hidden faults that develop after short storage periods.
- Controls. Test your throttle for smooth operation and snap-back. Squeeze both brake levers and check lever travel. Inspect your clutch cable for fraying.
- Lights and electrics. Run through headlight, taillight, brake light, turn signals, and horn. Check that all wiring is secured and not rubbing against anything hot.
- Oil and fluids. Verify engine oil level, brake fluid reservoirs, and coolant if your bike is liquid-cooled. Low brake fluid is a serious safety issue that is easy to miss until it matters.
- Chassis. Look over the frame for cracks, and check that your chain or belt has proper tension and lubrication. Inspect footpegs and handlebars for loose hardware.
- Stands. Both your kickstand and center stand (if equipped) should lock securely into position and retract fully without binding.
Pro Tip: Run your T-CLOCS the evening before departure, not the morning of. That way you have time to address anything you find without rushing.
This motorcycle maintenance checklist step alone will save you from the most common rally breakdown scenarios. Do not skip it because your bike felt fine on the last ride.

2. Clothing and personal gear for rally riding
Gear selection for a multi-day rally is about more than protection. You are riding potentially hundreds of miles each day in changing weather, spending evenings at events, and sleeping somewhere that is not your bed. Your clothing choices affect how you feel from 7 AM to midnight.
The ATGATT philosophy (All The Gear, All The Time) is your baseline. That means a DOT or ECE-rated helmet, a riding jacket with CE-rated armor at the shoulders and elbows, riding gloves, and proper boots that cover your ankles. This is not up for debate on a highway. What most riders underestimate is that well-fitted gear that minimizes fatigue from noise and vibration is just as important as the protection it provides on a long rally ride.
Beyond the ATGATT core, build your biker rally packing list around these clothing categories:
- Base layers. Moisture-wicking base layers keep you dry and comfortable under your riding jacket. Bring two or three to rotate.
- Mid layers. A fleece or light insulating layer for cool mornings and night riding. Temperatures at rallies like Sturgis can drop hard after sunset.
- Rain gear. A compact two-piece rain suit that fits over your riding gear. One unexpected downpour will convince you this is worth every dollar.
- Casual clothes. Two or three changes for evenings at the event. You do not need to overdo it. Light shirts, one pair of comfortable boots or shoes, and a hoodie cover most situations.
- Sun protection. Quality sunglasses with UV protection, sunscreen for face and neck, and lip balm. Windburn and sun exposure are serious on long days in the saddle.
- Hearing protection. Foam earplugs for highway riding. Wind noise at speed causes cumulative hearing damage that most riders do not notice until it is too late.
Pro Tip: Store your casual clothes and non-riding gear in a separate dry bag so you are not digging through your entire kit at camp to find a clean shirt.
3. Camping and overnight gear checklist
Multi-day rallies mean you are living out of your bags. Comfort at camp directly affects how you feel on the bike the next morning, so this section of your rally packing checklist deserves real thought, not last-minute throws into a duffel.
The core camping kit:
- Tent. A compact backpacking-style tent packs smaller than a car camping tent and handles weather better than a tarp setup. Test it at home before the rally.
- Sleeping bag. Match your bag's temperature rating to the overnight lows at your rally location, then subtract about ten degrees as a buffer.
- Sleeping pad. A foam pad or inflatable mat keeps you off the cold ground. This one item will determine whether you actually sleep.
- Portable chair. A lightweight camp chair is worth its weight in gold at a rally. You will use it constantly.
- Cooking gear. A compact single-burner stove, a small pot, a spork, and a lighter. Bring a small supply of coffee or instant meals to avoid overpriced rally food every morning.
- Lighting. A headlamp and a small lantern for the campsite. Headlamps leave your hands free when you are working on gear in the dark.
- Hygiene supplies. Travel-size toiletries, biodegradable soap if facilities are limited, hand sanitizer, and a microfiber towel.
For campfire nights, bring two to three bundles of firewood per evening if fires are permitted. More importantly, check local fire restrictions before you leave home since regulations change frequently and fines are real. Always carry a compact camp stove as backup.
Pro Tip: Use compression sacks for your sleeping bag and clothing. They cut packed volume by roughly half and make organizing your saddlebags significantly easier.
Respect the campsite and your neighbors. Pack out what you pack in, and keep noise reasonable after midnight. Good etiquette at camp is part of your motorcycle rally etiquette guide whether or not it is written down anywhere.
4. Motorcycle roadside emergency checklist
Your motorcycle roadside emergency checklist is the one you hope to never use and will absolutely thank yourself for having. The difference between a minor roadside inconvenience and a ruined rally weekend often comes down to what is in your kit.
Here is what every rider should carry:
- Trauma-specific first aid kit. Generic first aid kits are not built for motorcycle accidents. Tailor your kit with a tourniquet, hemostatic gauze, chest seals, and a space blanket. Take a basic stop-the-bleed course before the rally so you actually know how to use what you are carrying.
- Tire repair kit. A plug kit with CO2 cartridges handles most punctures without requiring a full tire change. Practice the repair at home at least once.
- Multi-tool and basic hand tools. A quality multi-tool plus a small set of hex keys, combination wrenches, and a screwdriver that fits the screws on your bike. Know which bolts on your specific model are most likely to vibrate loose.
- Spare fuses and bulbs. Blown fuses kill rides. Carry a small assortment that matches your bike's specs, plus a spare headlight bulb.
- Portable power bank. A high-capacity power bank keeps your phone alive for navigation, communication, and emergency calls. Get one rated for outdoor use.
- Tow strap and emergency contacts card. A laminated card with emergency contacts, your insurance info, and roadside assistance numbers. Phones die. Paper does not.
- High-visibility vest. If you break down on a highway, visibility is your biggest safety factor. Put it on before you do anything else. On a highway breakdown, your priority is getting yourself and the bike off the roadway, standing well clear of traffic, and calling for professional help rather than attempting risky repairs in live lanes.
Pro Tip: Keep your emergency kit in a consistent location on your bike every single rally. Under stress, muscle memory beats searching.
You can also find detailed breakdown protocols and highway emergency checklists that walk you through each step in real-world conditions.
5. Motorcycle event essentials you will actually use
Beyond gear and tools, a motorcycle event essentials kit covers the day-to-day practical items that do not fit neatly into other categories but make a huge difference on the ground.
Pack these every time:
- Cash. Many rally vendors are cash only. Bring more than you think you need.
- Rally registration and ID. Print your registration confirmation and carry your license, registration, and insurance card in a waterproof document sleeve.
- Earplugs (extra supply). You packed some for riding. Bring extras for sleeping near the music stages.
- Zip-lock bags. They protect documents, electronics, and small items from rain and dust better than almost anything.
- Bungee cords and a small ratchet strap. For securing anything that did not fit perfectly in your bags or items you pick up at the vendor area.
- Water bottle and electrolytes. Dehydration catches up with rally riders fast. Riding all day in the sun with limited hydration stops is a quick way to end your weekend early.
- Sunscreen, lip balm, and a bandana. The bandana alone has about fifteen uses: dust filter, sun protection, pre-filter for water, signaling device, or extra padding.
This is also where a quick scan of the motorcycle event blog at Bikerslifestyle pays off. Understanding the specific layout and schedule of your rally lets you pack with purpose instead of packing for every hypothetical.
6. Efficient packing and load management
Most riders overpack. That is a fact backed by every experienced touring rider who has done a few rallies and gradually watched their bags get lighter each year. The instinct is to prepare for every scenario. The reality is that most scenarios never happen, and the extra weight costs you in handling, fuel economy, and fatigue.
A proven sorting method: lay everything out and sort it into three piles. Yes (definitely needed), maybe (might use), and no (probably not). Then look at your maybe pile and move most of it to no. What is left is your rally kit.
| Packing approach | How it affects your ride |
|---|---|
| Heavy items low and centered | Keeps the bike's center of gravity stable, improves handling at speed |
| Light items on top and outer pockets | Easy access without unloading everything, less effect on balance |
| Compression sacks for soft gear | Reduces bulk by up to 50%, makes repacking at camp much faster |
| Dry bags for electronics and documents | Protects against rain and spills, no extra weight |
| Daily repack each morning | Lets you reassess what you actually used and drop what you did not |
Placing heavier items at the bottom and center of your luggage is the single highest-impact packing decision you can make for bike handling. Top-heavy bikes are nervous bikes, and nervous bikes are tiring to ride all day. Keep that in mind every time you load up.
What years of rally checklists actually taught me
I have been running a version of this checklist for longer than I care to admit. Early on, I was the guy who showed up at a four-day rally with a duffel bag bungeed to his seat and no real plan. By day two, I had a wet sleeping bag, no cash, and a tire going soft because I had no plug kit. That was an educational trip.
What I have learned over the years is that the checklist itself is less important than the habit of using one. Every rider I know who has done this for a while has their own version, refined through the specific things they forgot or the specific problems they solved. Mine has changed significantly every season, and yours should too.
The T-CLOCS inspection is the one I will never skip again. I once caught a nearly cracked brake line the night before a long ride to a rally. That was a five-minute fix at home and potentially a life-altering situation on the road. The inspection felt like a chore until it genuinely mattered.
The other thing I push back on is the idea that checklists are for beginners. I have met riders with 200,000 miles under them who still walk through their checklist before every rally departure. They are not doing it because they do not know their bikes. They are doing it because they know exactly how much can go wrong and they respect that.
My honest advice: start with the categories in this article, build your own list in a notes app or a physical notebook, and review it after every rally. What did you use? What stayed in the bag untouched? What did you wish you had? That review loop is where the real checklist discipline comes from. You can also connect with riders through Bikerslifestyle to find rallies near you and pick up checklist ideas from your local riding community.
— Trevor
Plan your next rally with Bikerslifestyle
Bikerslifestyle is built for exactly this kind of planning. Whether you are searching for your next event, looking for a riding group to travel with, or wanting to scope out a new scenic route before the trip, the platform pulls it all together in one place. Check the event calendar for up-to-date rally listings nationwide, or browse the full directory of motorcycle events, riding groups, and scenic rides to build out your 2026 season. If you want to sharpen your skills before a major rally, the ADV riding clinic attached to the Great Adventure Rally is worth looking into. Your best rally season starts with knowing what is out there.
FAQ
What should be on a basic motorcycle rally checklist?
A basic motorcycle rally checklist should cover six categories: pre-ride bike inspection (T-CLOCS), riding gear and clothing, camping equipment for multi-day events, a roadside emergency kit, daily essentials like cash and documents, and an organized packing strategy.
How do I pack efficiently for a motorcycle rally?
Sort everything into yes, maybe, and no piles before you pack, then cut the maybe pile aggressively. Place heavy items low and centered in your luggage to protect bike handling, and use compression sacks to reduce the volume of soft gear.
What goes in a motorcycle roadside emergency kit?
Your kit should include a trauma-first-aid pack with a tourniquet and hemostatic gauze, a tire plug kit with CO2 cartridges, a multi-tool, spare fuses, a portable power bank, a high-visibility vest, and a laminated card with emergency contacts and insurance information.
How long does a T-CLOCS inspection take?
A full T-CLOCS inspection takes about five to ten minutes and covers tires, controls, lights, fluids, chassis, and stands. Running it the night before departure gives you time to fix anything you find without delaying your ride.
Do I need to check fire restrictions before rally camping?
Yes. Fire restrictions at rally campsites change frequently and vary by location. Check current local regulations before you leave home, and always carry a compact camp stove as a backup to an open fire.